How to print a screenshot as wall art
 keep this one
1. Start with a sharp source
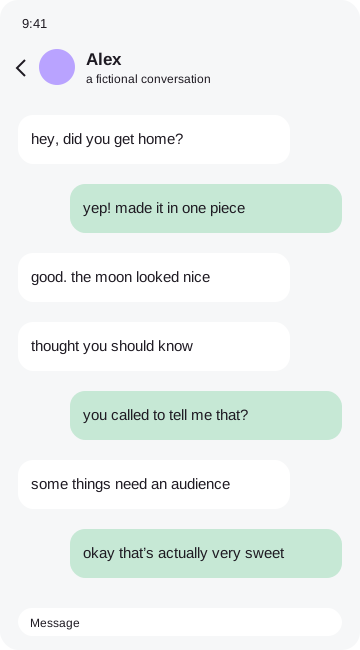
Use the original screenshot from your phone rather than an image forwarded through several apps. Compression can soften small letters before you even begin. Choose a short conversation with comfortably readable text. A single meaningful exchange usually works better on a wall than a full scrolling history. If the source looks blurry at normal size, exporting more pixels will not restore missing detail.
2. Compose for the frame on your wall
Think about the physical frame you already have or plan to buy. A quiet postcard or Polaroid look gives the words room to breathe. Add a short caption below the image, perhaps a date or a phrase you both recognize. Keep important details away from the outer edge, where a mat or frame might cover them. Use the Keepsake pack if you want a calmer starting point.
3. Choose a paper preset
Open Export and choose A4, A3, US Letter, 8×10 inches or 11×14 inches. The print-ready PNG and PDF buttons use that paper’s dimensions. A4 at 300 dpi is roughly 2480 by 3508 pixels, which provides a useful output canvas for a clean page. The screenshot itself still determines how sharp the conversation looks. Pick a smaller paper size when the original chat text is tiny.
4. Understand the device limit
Large canvases need memory, especially on a phone. The editor uses a conservative pixel limit on iPhone and iPad and reduces very large print exports when needed. If it does, you will see a message that the file was made smaller. A desktop browser is a better choice for the largest paper sizes. Close other heavy tabs if export fails, or choose a smaller preset and try again.
5. Print a test before the gift
Download a PDF for a page-sized document or a PNG for an image workflow. Select the matching paper size in your printer settings. Use actual size or a consistent fit setting that does not crop the edges. Print a cheap test first and check the smallest letters, caption placement and colors. Screen colors and printer colors can differ, so a test is more useful than guessing from the preview.
6. Finish the keepsake thoughtfully
Matte paper often suits the scrapbook feeling, but use paper your printer supports. Let the ink dry before placing it in a frame. If this is a gift, choose a message the recipient would be happy to display; sensitive conversations may belong in a private album instead. Hide contact details before exporting even when printing at home. The editor keeps the image local, and you choose whether any print service receives the finished file.